Your email signature is an opportunity to align your email correspondence with our University brand more closely. While you can use your unbranded signature, our templates can help you create a professional, streamlined look.
If you have questions about using one of the email signatures in the templates below, please contact the Office of Strategic Communications & Marketing at (209) 664-6780 or marcom@csustan.edu.
Download the .zip file and extract the Word template.
Instructions on How to Create Your Outlook Email Signature
Email Signature Update on Windows
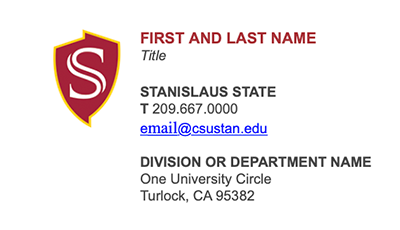
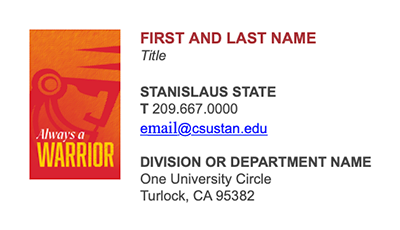
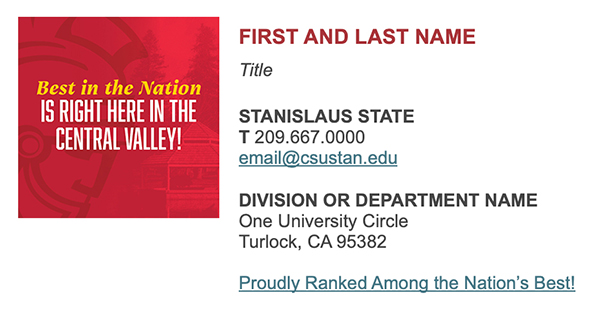
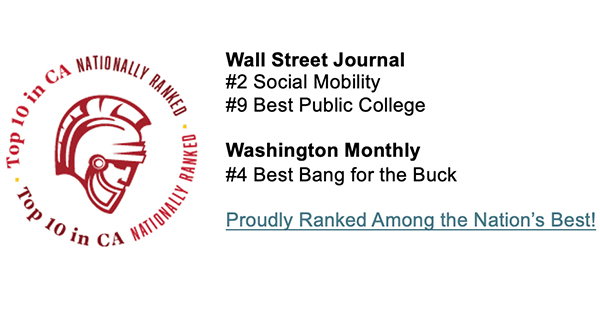
- Download one of the signature options.
- Open the downloaded file in a text editor, such as Microsoft Word.
- Replace the placeholder text with your own information, including your name, title, phone number, email and division or department name.
- Open Outlook and create a new email.
- Click on the “signature” button and select “signatures” from the drop-down.
- Select a current signature you want to replace or create a new signature. Create a name for your signature.
- Copy your signature from your document and paste it in the window that appears below “edit signature.”
- Under “choose default signature,” use the dropdowns to select which emails you want your new signature to appear.
- Click “save” and “okay.”
- Your signature will automatically be added to the types of emails you selected.
Revised Aug. 2, 2023: Windows 10; Outlook version: 2306 Build 16.0.16529.20164 64-bit
Find your Outlook version on Windows
Email Signature Update on Mac
- Download one of the signature options.
- Open the downloaded file in a text editor, such as Microsoft Word.
- Replace the placeholder text with your own information, including your name, title, phone number, email and division or department name.
- Open Outlook and navigate to settings/preferences.
- Once in settings, open “signatures” and click “+ (add a signature)”
- Copy and paste your newly created signature, give it a signature name and click save.
- Choose where your signature will go. You can add it to new messages as well as replies and forwards.
- Your signature will automatically be added to the types of emails you selected.
Revised Aug. 2, 2023: Outlook version 16.75
Updated: January 20, 2026